Programmatically generate webpage preview images
∙ 5 min
Here’s a summary of how I automagically generate my preview images for each page on my website.
What are meta tags
Image meta tags make your the preview to URLs on Facebook, X, LinkedIn, Slack, Teams or wherever else look good. Technically speaking, there are other meta tags like description and title that need to be available on the webpage to make the preview look good. Don’t neglect those or think the image is more important.
There are countless articles online that describe what meta tags are, and specifically what Open Graph (OG) meta tags are.
- https://ogp.me/
- https://ahrefs.com/blog/open-graph-meta-tags/
- https://moz.com/blog/the-ultimate-guide-to-seo-meta-tags
- https://moz.com/learn/seo/meta-description
Meta tags are found in the head of your markup. The head houses mostly metadata about the page as opposed to the content of the page itself. Therefore the head is generally not visible in the browser unless you inspect the page’s source. The content is found in the body.

It’s in the head that you need to specify the URL of the preview image that will be auto-generated when posting to platforms like social media or messenger apps. Two are specifically interesting:
<meta property="og:image" content="{insert URL here}">
<meta name="twitter:image" content="{insert URL here}">
Aspect ratio and size
The aspect ratio and sizes of the OG and X preview images are different (at least they were as of today). I suggest keeping up to date with this as many platforms will change this from time to time. X should also fall back to using the OG image meta tag if the X image meta tag isn’t explicitly defined.
- X: 120:120 px (aspect ratio of 1:1)
- Open Graph: 1200:630 px (aspect ratio of 1.91:1)
A quick search with your favorite search engine should lead you to some authoritative website that spell out the current aspect ratios and sizes.
What you really don’t want is for a social media platform or messaging app to go and try to fetch a preview image on its own, in the case where you neither define an OG image tag nor a X image tag.
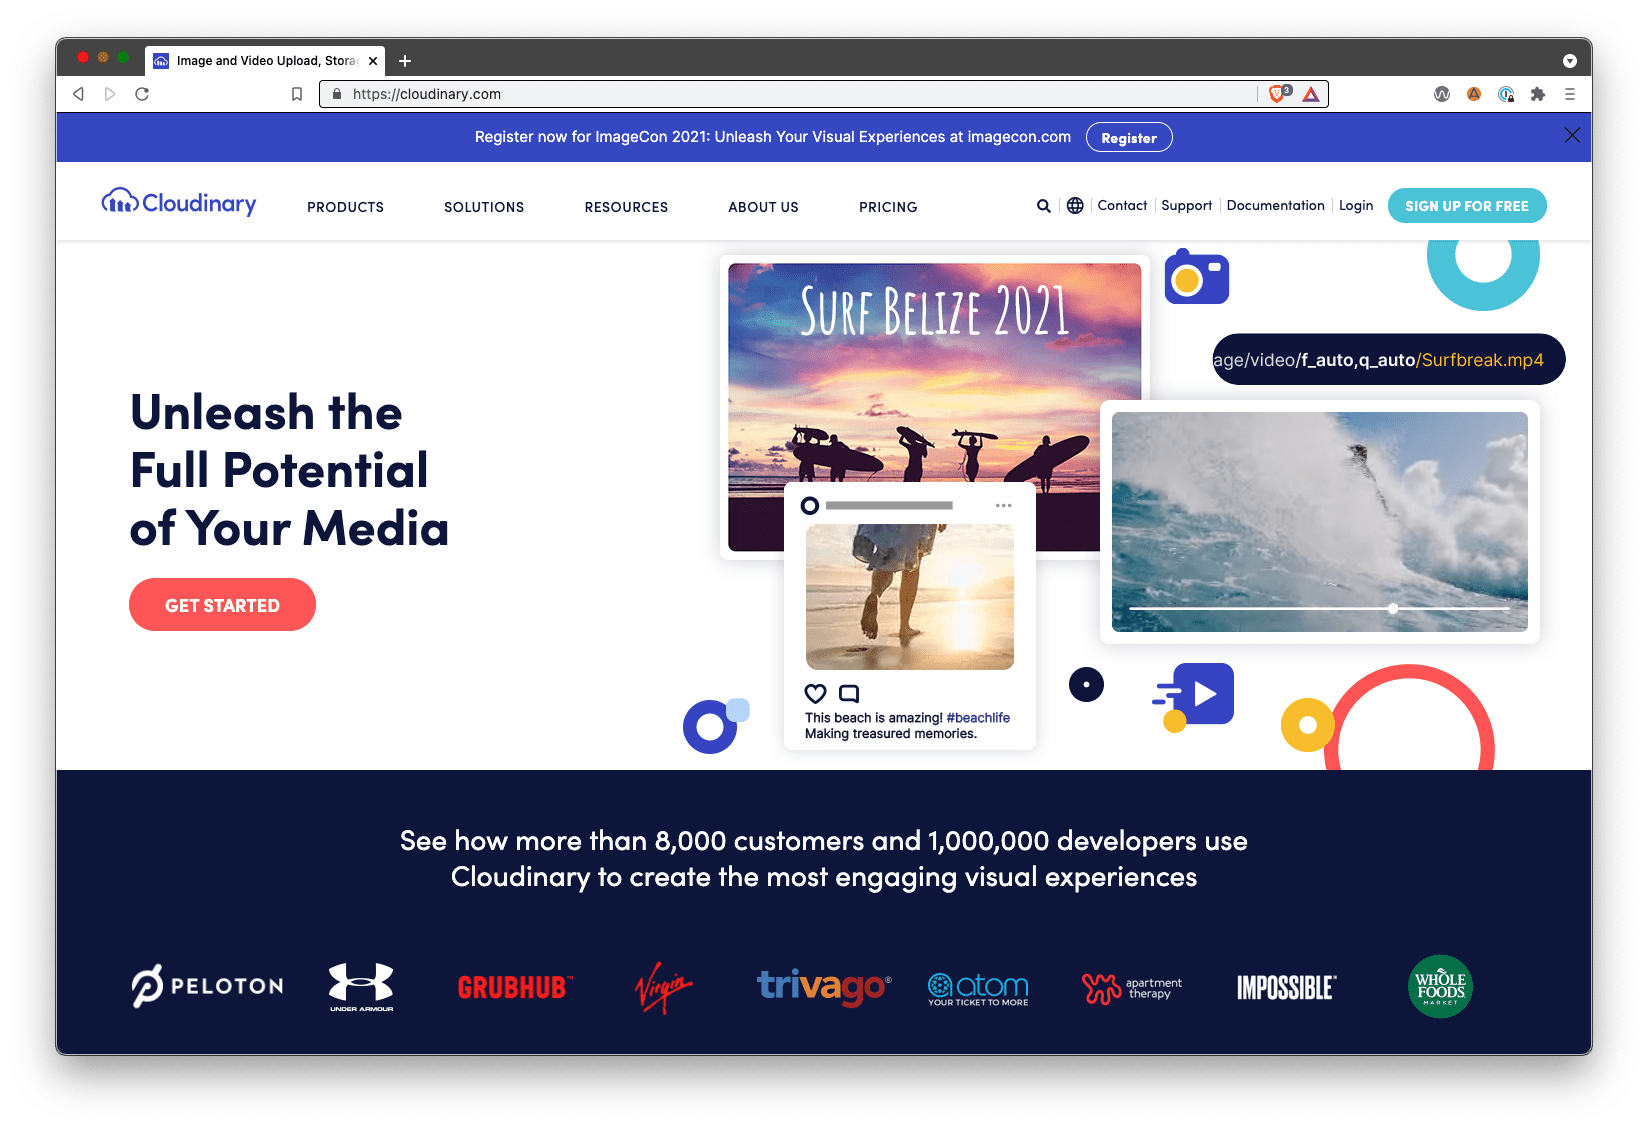
Cloudinary

From Wikipedia:
[Cloudinary] provides a cloud-based image and video management services. It enables users to upload, store, manage, manipulate, and deliver images and video for websites and apps.
I store all images on this site on Cloudinary, and that lets magic things happen. I can manipulate swathes of images with a small URL modification in my source code. This is done by inserting transform syntax in the middle of the Cloudinary image URL.
Each page on this website has a main image (particularly my blog posts, and more on my image choices here: About my images). And if a main image isn’t explicitly declared, I’ve coded my HTML head to fall back to my homepage’s main image.
This is where I use Cloudinary to manipulate the page’s main image to fit the 120:120 px X and 1200:630 px OG specifications. I use the ar (aspect ratio) transform, I make sure the images crop with the c_crop transform, and then I scale the image down to the required height (and therefore width) with the h transform. All this without ever creating a new image by hand…it’s all derived on the fly from the source image. Transformation URL API reference →
<meta property="og:image" content=".../ar_1.905,c_crop/h_1200...">
<meta name="twitter:image" content=".../ar_1,c_crop/h_120/...">
A final touch
X preview images are small and square, and the page title and description show up pretty prominently. So things look good out of the box. For example:
This took longer than I intended, but writing Part 2 of this series really help me crystalize my thinking. In this post, I dive deeper into how to technically set up an Account-based Marketing target list robustly. #accountbasedmarketing https://t.co/2V91CxPe0C
— Robert Jelenic (@robertjelenic) September 27, 2021
But I wasn’t happy with the OG preview images being rendered in LinkedIn and Slack, for example. I wanted to overlay the page title on the preview image and decrease the image opacity. Automatically. Without creating the preview image myself.
I barely scratch the surface of what Cloudinary can do, but one great trick is being able to overlay text, images or really anything on another image.
I want to change this…

into this…

<meta property="og:image" content=".../o_50/c_fit,l_text:Roboto_200_extrabold_center:{insert title}...">
I use the o transform to turn up the opacity and the l_text transform to overlay text on a new layer.
- https://cloudinary.com/documentation/transformation_reference#o_opacity
- https://cloudinary.com/documentation/layers#text_overlays
Note: You have to transform the page title string into a URL-encoded string. For example, you can’t pass an empty space into the URL. You have to transform it into %20. I can’t possibly prescribe how to do that here because every website framework will be different. Search engines are your friends here.
Multilingual
This is where things gets really great. For those running a multilingual site, you’re painfully familiar with the fact that pages, images and workflows explode in number and complexity with every language you add to your site. But with this programmatic approach to preview image creation, as long as the metadata string (in this case, the post title) are included in the localization process, the preview images create themselves.
Note: You should remember that many characters used in non-English languages can’t be passed in the URL without some encoding, and also that titles can be dramatically longer in some languages. So implement checks to make sure your text doesn’t break your preview image (eg. overflowing off the side, of expanding vertically past the image boundaries).

Closing thoughts
This workflow somewhat follows the DRY methodology in programming: Don’t Repeat Yourself. If you can programmatically derive images from a single source image, why wouldn’t you? You can change things in the future with a keystroke, and things are templatized and consistent. If you’re running a large website, scalable thinking upfront will likely pay dividends when business requirements or branding inevitably changes.
